Login configurations
This guide covers how to configure the login screen in WideQuick Modular Framework and its verticals. This includes configuring the login requirement, changing how users identify themselves, customizing the background image, and setting the initial view after logging in.
Require login
A log in screen provides safety
Using a log in screen is a meassure of safety that prohibits non-privileged users to do harm
By default, users are required to log in before accessing the system.
This can be disabled by toggling Require login off. To do this: navigate to Settings in the main menu and open the Settings view.
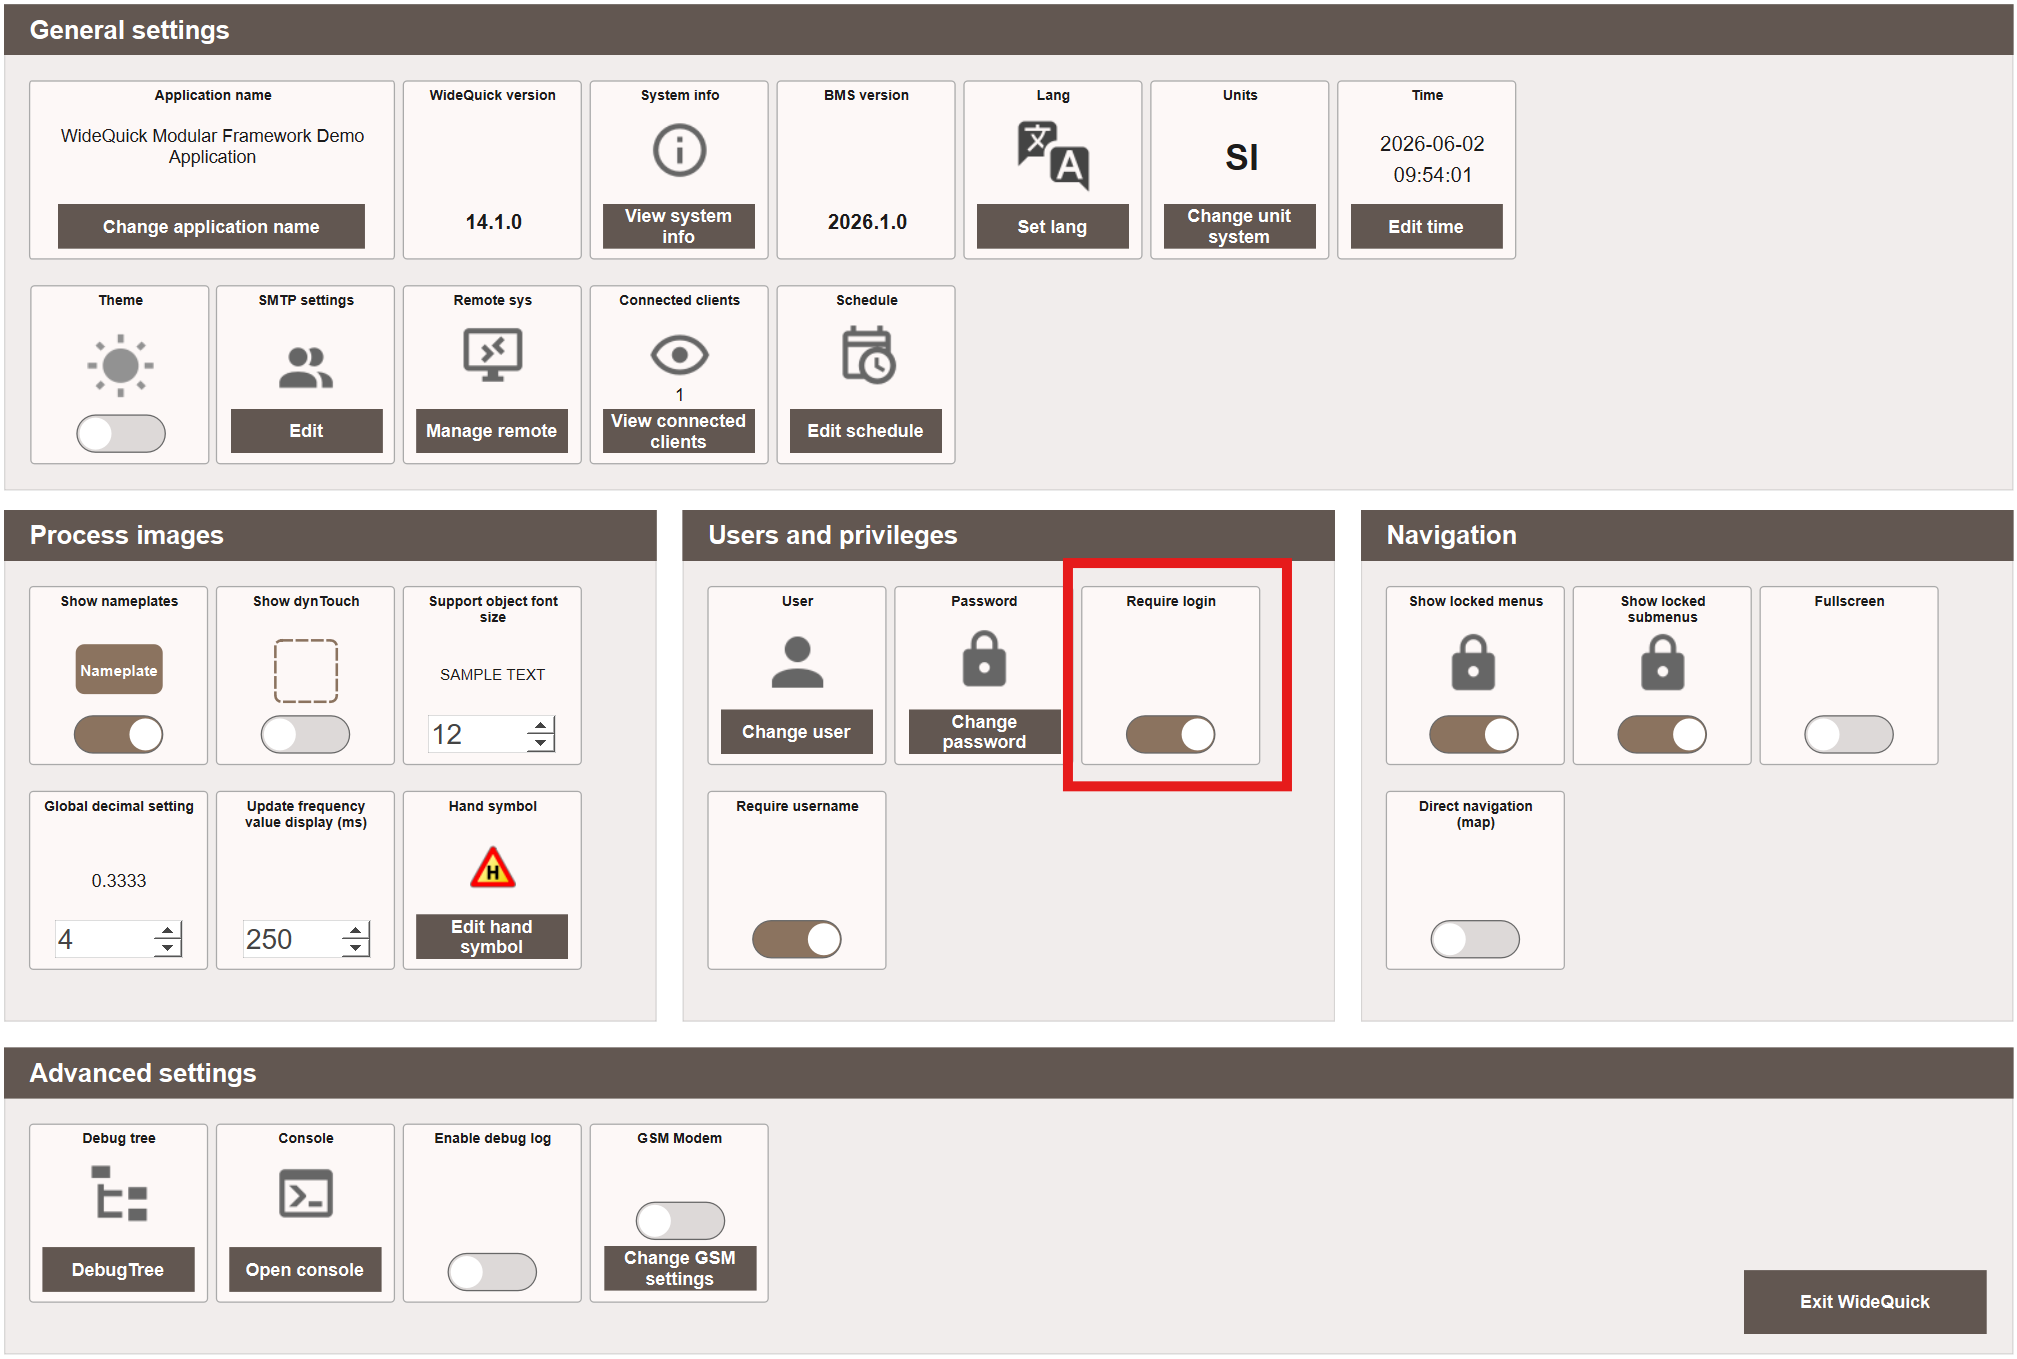
When disabled, the login screen is bypassed entirely and the system navigates directly to the configured start Workview.
The user enters as unauthenticated, meaning any views or actions that require a privilege will still be restricted.
Note
Disabling Require login does not remove privilege restrictions. Users will still be unable to access views or perform actions that require a specific privilege unless they log in manually.
However it does not protect you from faulty privilege management. If it is not a requirement from customer to not have one, consider keeping the log in screen.
Require username
By default, users must type their full username when logging in. This can be configured to a combobox by toggling the Require username off.
Navigate to Settings in the main menu and open the Settings view.
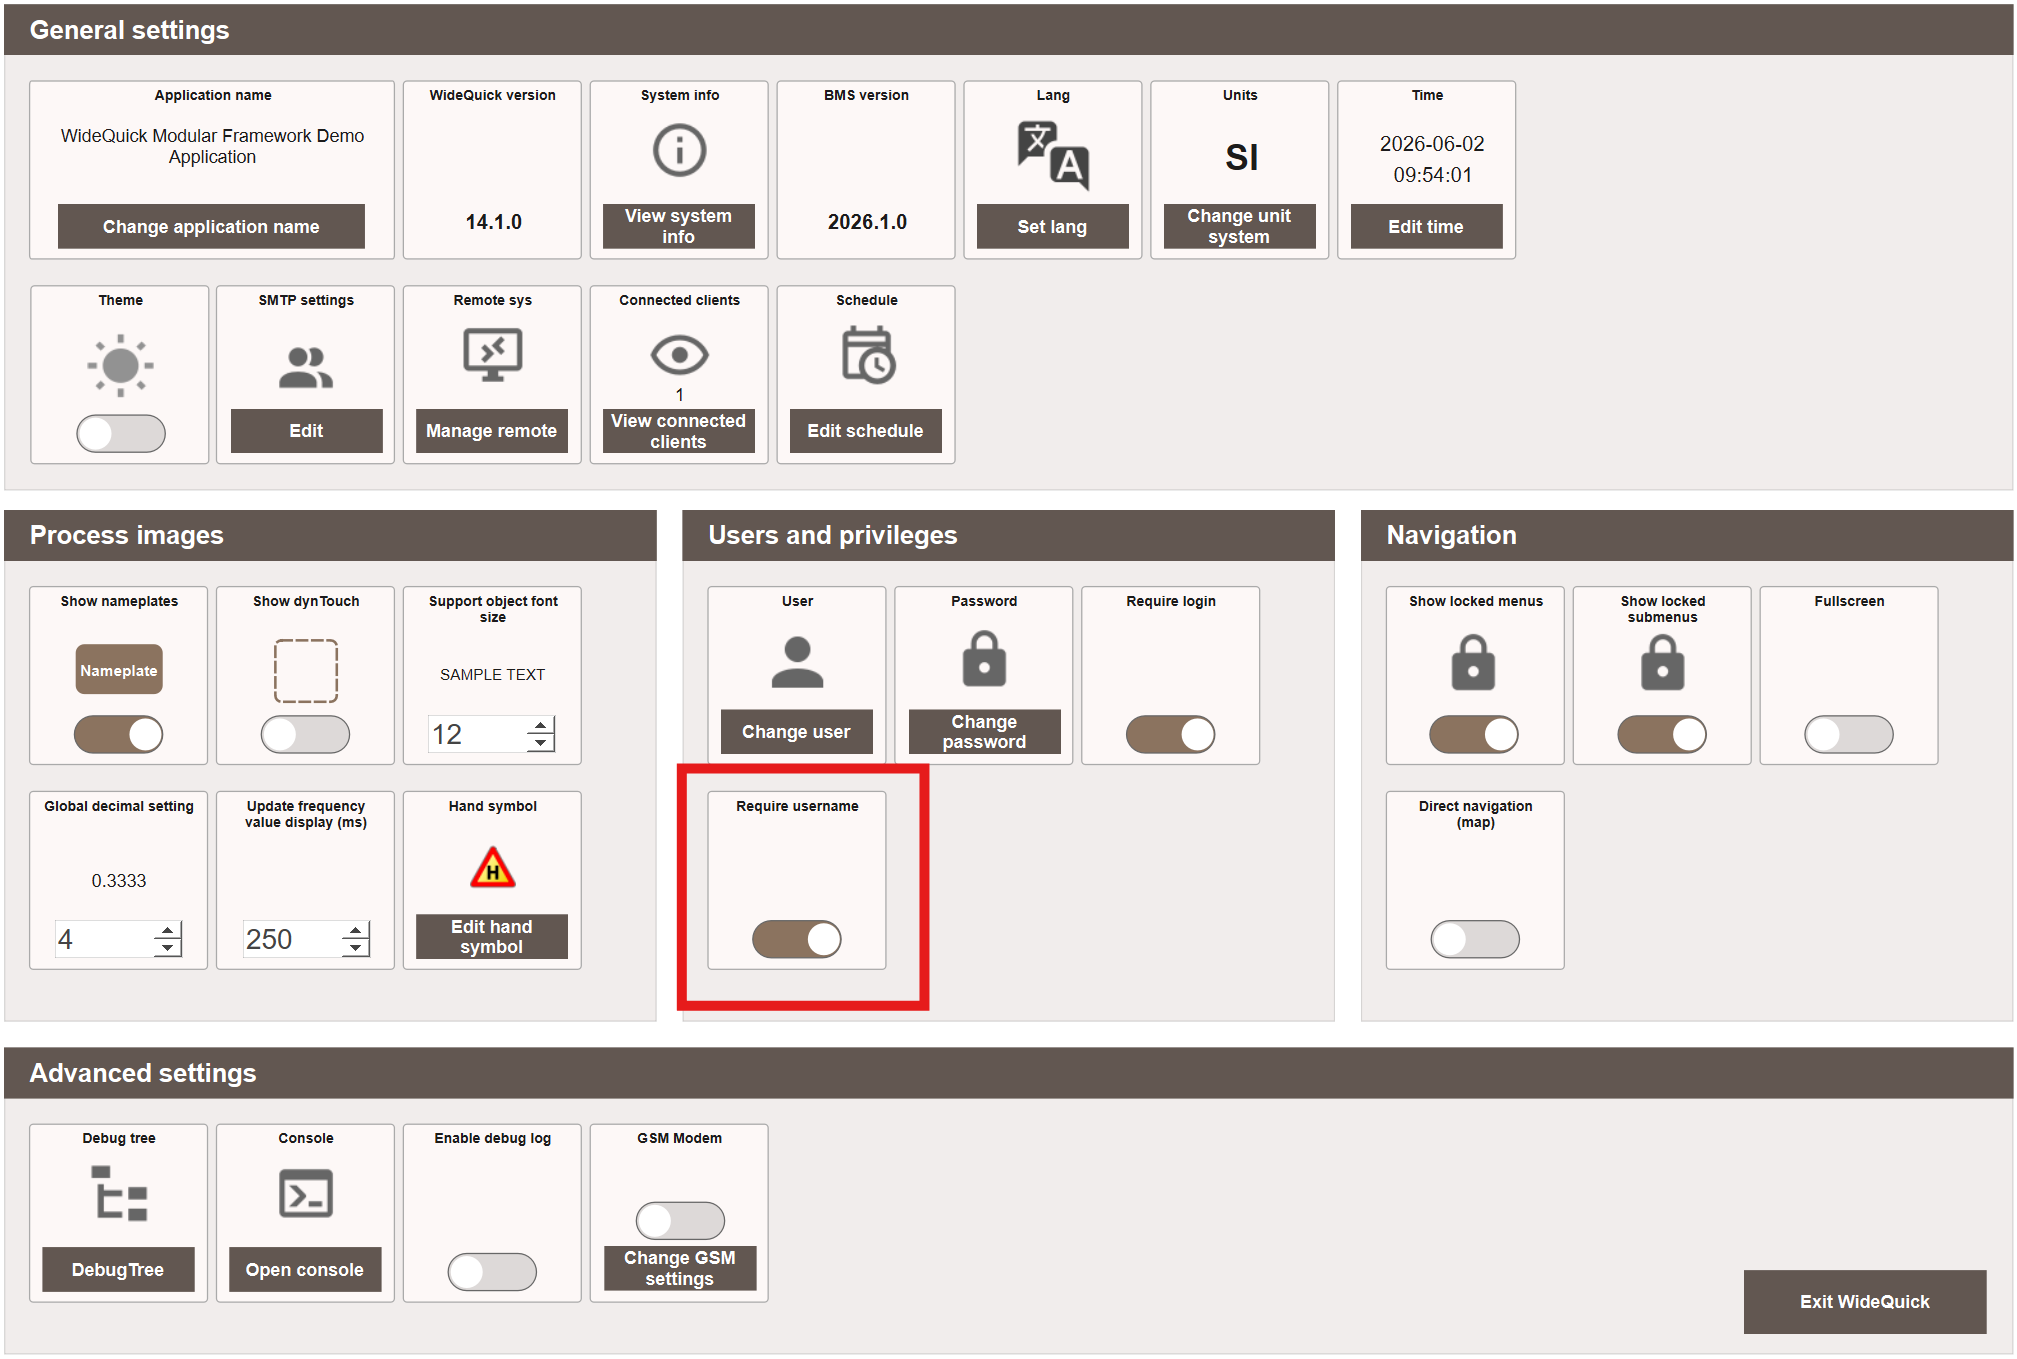
When disabled, the login screen displays a combobox showing all available users in the system. The user selects their name from the list and still enters their password as normal.
Tip
Disabling Require username is particularly useful when running WideQuick on operator panels, where typing a full username can be more cumbersome. The combobox makes login faster and easier on touch screens.
Note
Showing all available usernames in a combobox is less secure than requiring the username to be entered manually, as it exposes the list of system users.
Background image
The login screen background image is configured in WideQuick Designer®. In the
project tree under Workviews, navigate to the Login Workview. Select the
Image1 object and open the Image property. Remove the default images and add
your desired image(s).
The image file(s) should be placed in Images/Login/ inside the project folder before
adding it in WideQuick Designer. Supported formats are typically PNG, SVG, and JPG.
Just one image or a couple?
If you have more than one image added to the carousell you are done!
If you have one image, remove the onLoad script from the Image1 object. This
script rotates through the eight default images — removing it ensures your custom
image is displayed instead.
The recommended image resolution is 1085x1080 pixels. The Image1 object also
supports the following display options, which can be set in its properties:
- Keep aspect ratio — maintains the image proportions regardless of the object size
- Tiled — repeats the image to fill the object area
- Stretch — stretches the image to fill the object area regardless of proportions
Tip
For the cleanest result use an image at the recommended resolution of 1085x1080
with Keep aspect ratio enabled.
Start Workview
The start Workview is the view that opens after login. It is configured in WideQuick Designer® by navigating to the WORKSPACE Workview in the project tree under Workviews.
Right-click anywhere in the view and select Object then MultiviewerPage from the context menu. In the Properties tab, locate the Multiviewer property and select the desired Workview from the dropdown. The full path does not need to be entered manually.
The default start Workview in the template project is Dashboard Energi. The start Workview should be a Workview located in either the Main_Menu or System folder.
Tip
The start Workview is system-wide by default. However, it is possible to configure different landing views per user by adding multiple views to the Multiviewer tab and using a load script to select the correct view based on the logged-in user.