Logbook - Get Started
Requirements
The following scripts are required to use Logbook and all related functionality covered in the Logbook guides:
scDocscLinkingscSubNavscObjectFinderscPrototypesscSuffixscThemesscUsersscAlert
The Logbook is available in the main menu under Documents & Logbook → Logbook.
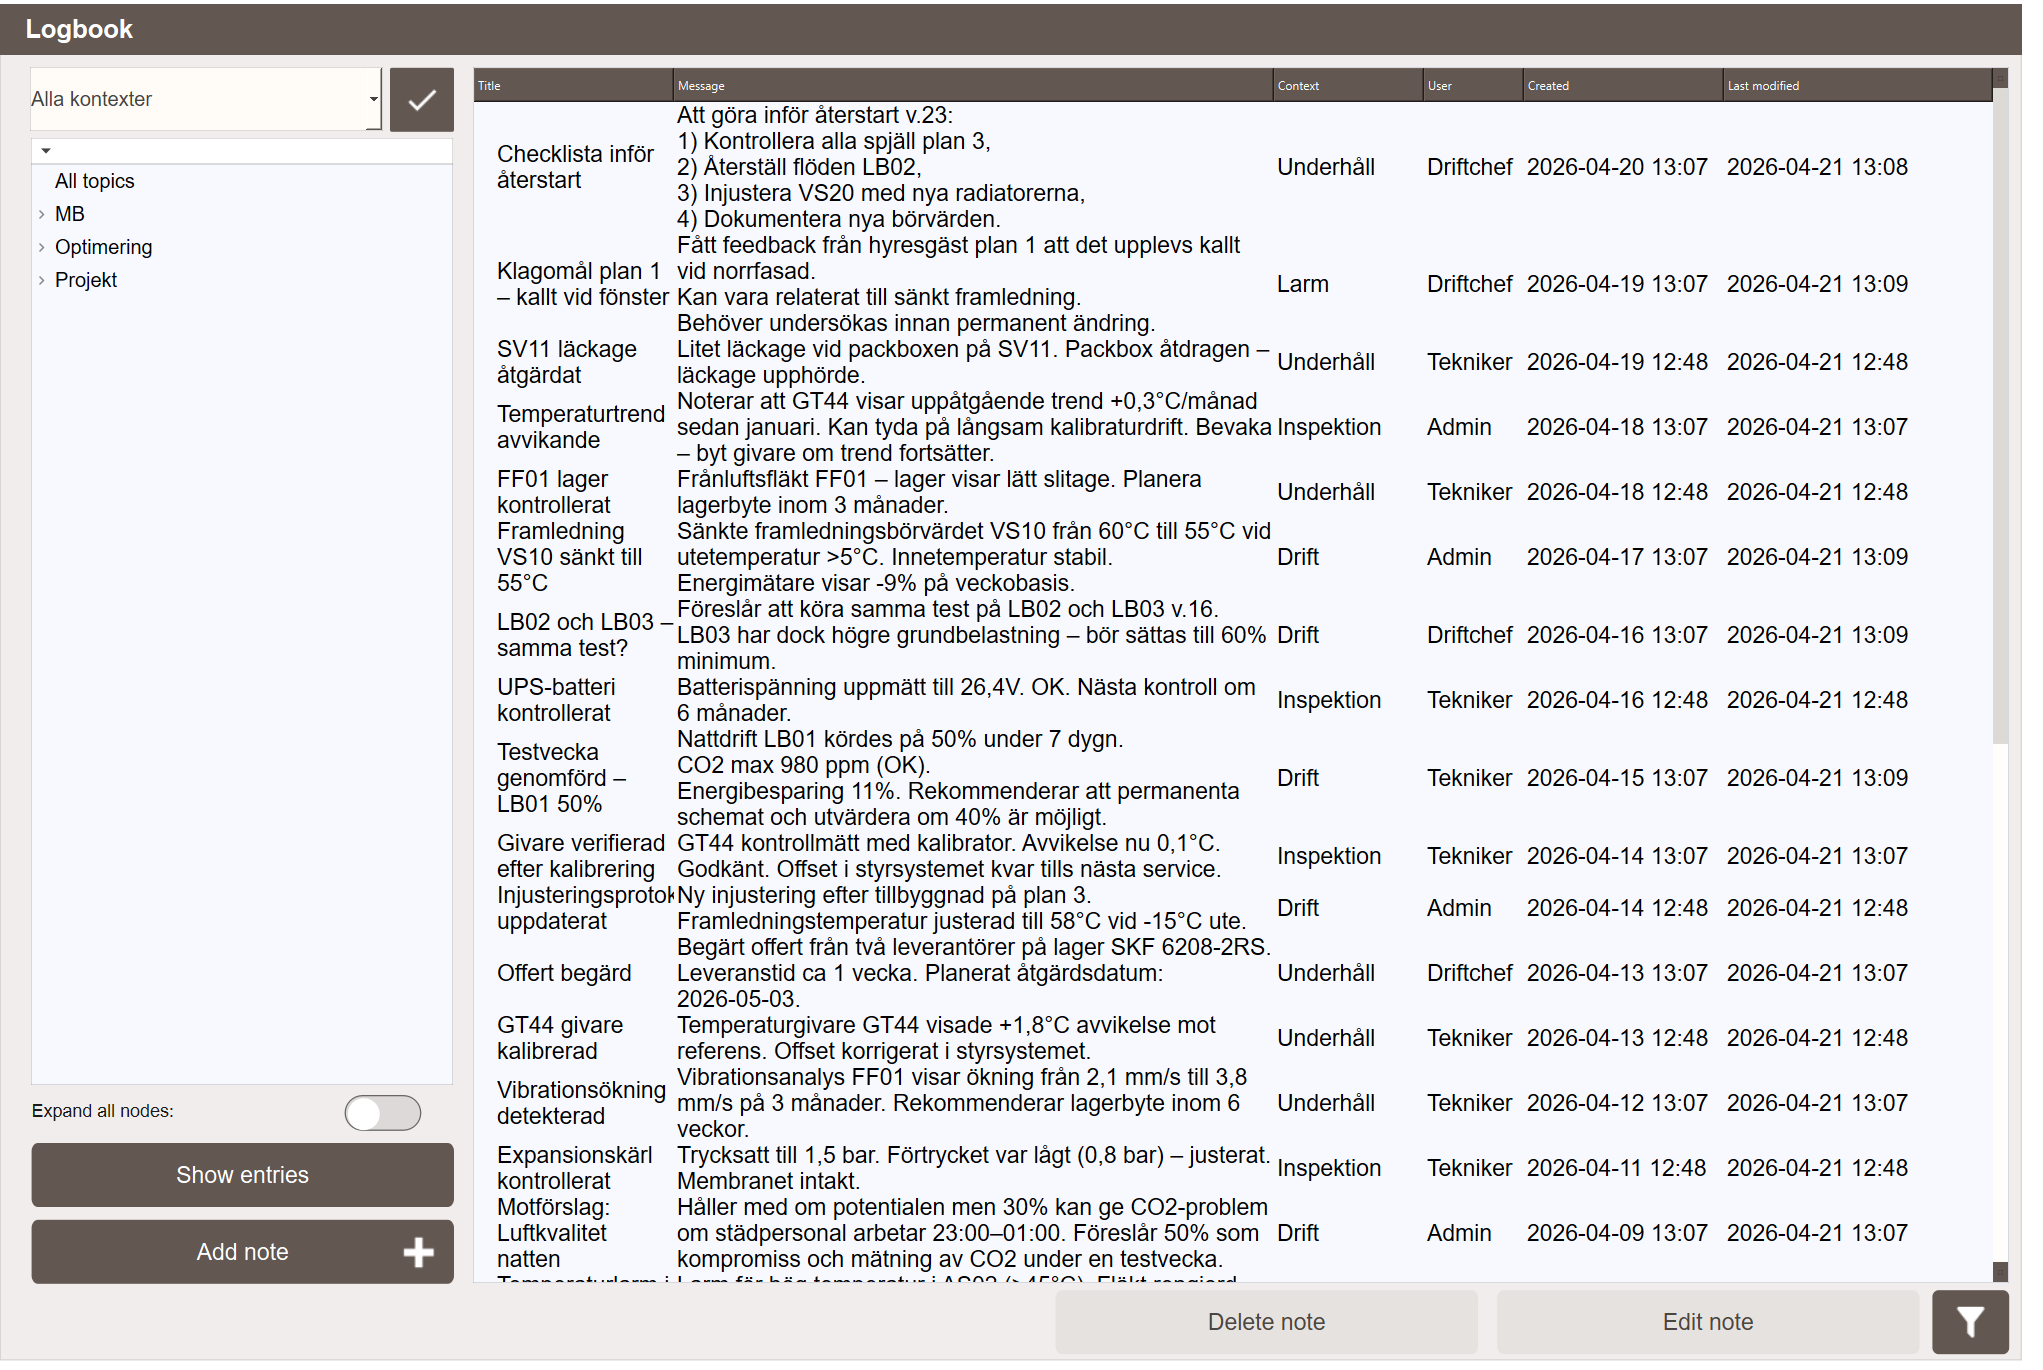
The Logbook View
The logbook view has two panels. The left panel shows the topic tree — a hierarchical list of all topics that have at least one entry. Selecting a node and clicking Show entries loads all entries under that topic into the entry list on the right. Selecting All topics at the top of the tree shows all entries across all topics.
The entry list shows the following columns: Title, Message, Context, User, Created and Last modified.
Select an entry and click Edit note to open it for editing, or Delete note to remove it permanently.
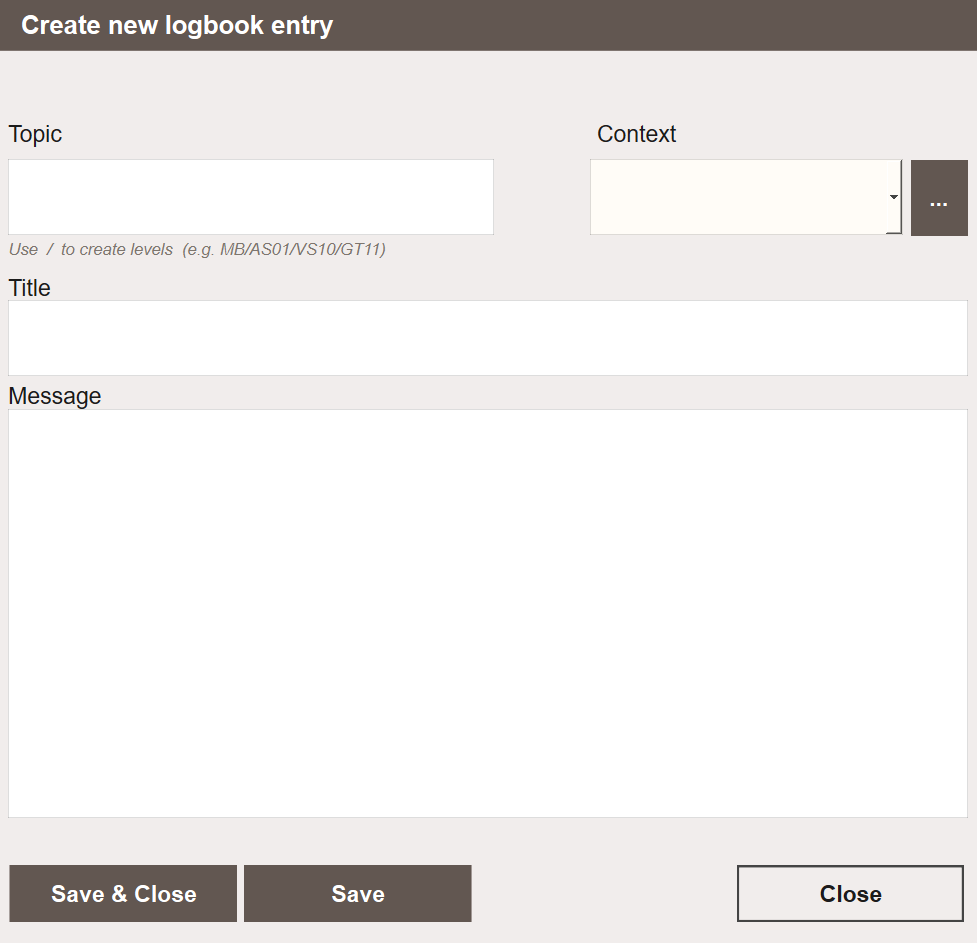
Creating an Entry
Click Add note to open the Create new logbook entry popup. Fill in the following fields:
- Topic — the path this entry belongs to. Use
/to create levels, for exampleMB/AS01/VS10/GT11. The entry is then findable by selecting any parent node in the topic tree. - Context — an optional grouping label. Click ... to manage available contexts.
- Title — a short headline for the entry.
- Message — the full text of the note.
Click Save to save and continue, or Save & Close to save and close the popup. The entry appears immediately at the top of the entry list.
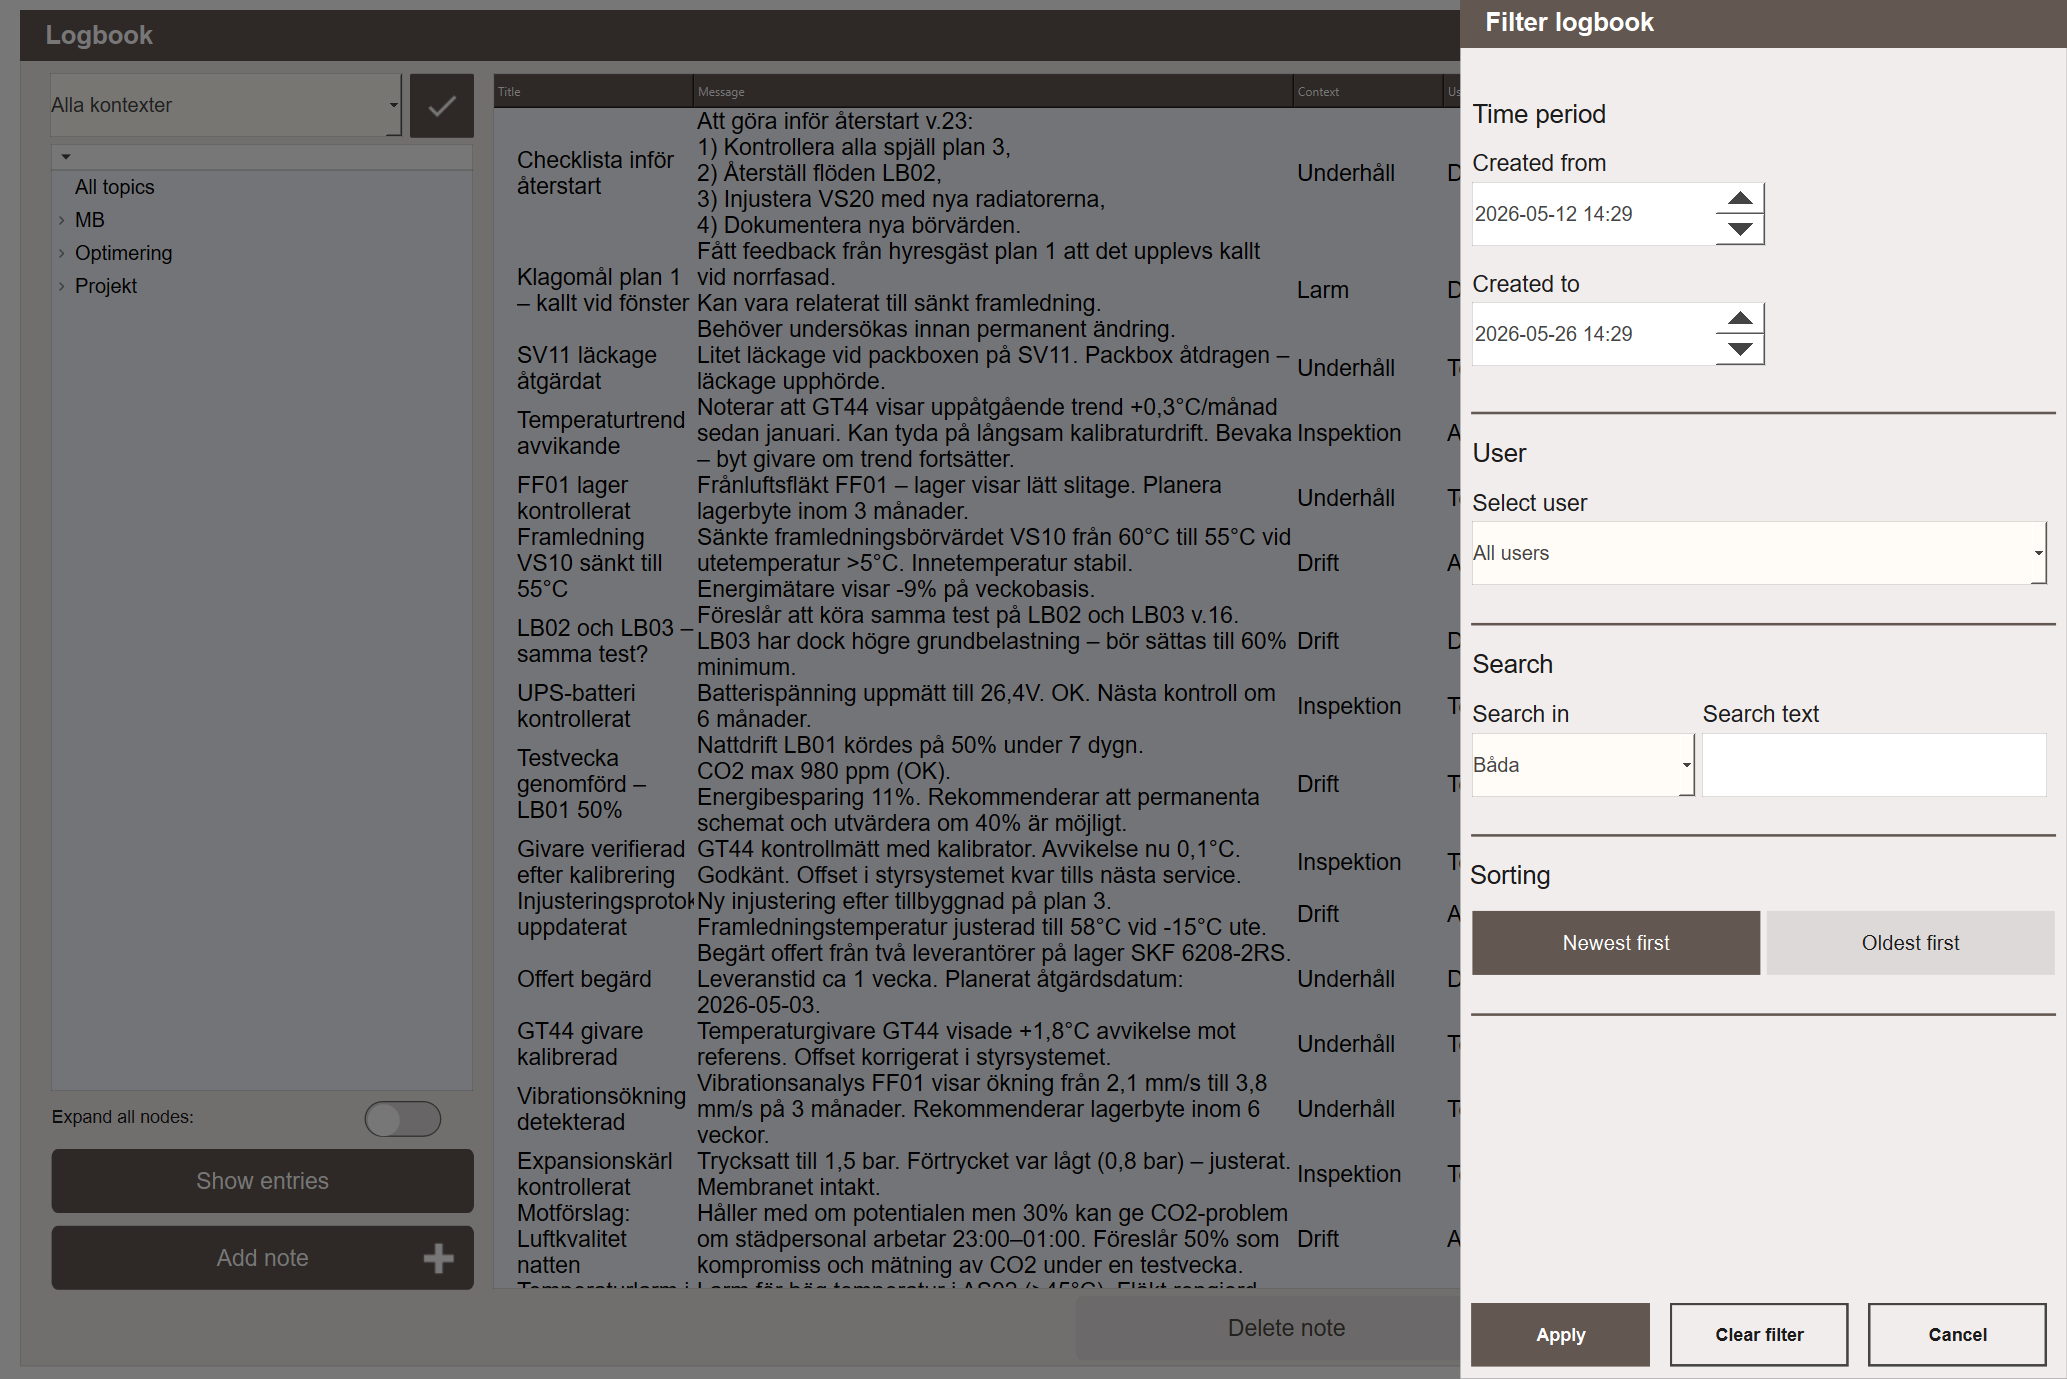
Filtering
Click the filter icon to open the Filter logbook panel. Available filters:
- Time period — filter by creation date range (Created from / Created to)
- User — show entries from a specific user only
- Search — search by text in the title, the message, or both
- Sorting — newest first or oldest first
Click Apply to apply the filters, Clear filter to reset, or Cancel to close without changes.
Next Steps
- Configuring — topics, contexts and access patterns
- Extending — adding a logbook to a custom view or button