Installing WideQuick
WideQuick® consists of three parts — Designer, Runtime, and Remote — all installed from the same installation package.
WideQuick® Designer is the development environment used to build the user interface for a project. It works with collaborative Workviews containing objects connected to variables in the Data Store, creating dynamic effects. Objects and Workviews appear static in Designer — the dynamics only come to life in Runtime.
WideQuick® Runtime is a standalone program installed on the target machine together with a project created in Designer. When started, it presents the Workviews and objects of the user interface, manages the Data Store, and handles communication with I/O modules and OPC servers.
WideQuick® Remote makes it possible for one or more users to connect to the same target system from different stations, enabling a client/server environment. Using Designer, an overview Workview can also be created to present multiple target systems simultaneously.
If more complex solutions are needed — such as custom control and regulation logic — an application program can be combined with Runtime using the WideQuick® C API. Application programs have the same access to Data Store variables as Runtime and can be used to create tailored process control. The C API is not included in the standard package.
The installation package is available for download from kentima.com.
System requirements
To use WideQuick® Designer, Runtime, or Remote, the following minimum hardware is required:
- An x86-64 (Intel 64/AMD64) processor
- 4 096 MB RAM
- 1 024 MB available disk space
WideQuick® products are supported on the following operating systems:
- Windows 10 (1809, 64-bit)
- Windows 11 (64-bit)
- Windows Server 2019 or newer (64-bit)
- Debian GNU/Linux 11.0 (64-bit)
Installation procedure
Run the installation file on the computer where you wish to install WideQuick®. The installer will guide you through the following steps.
Welcome
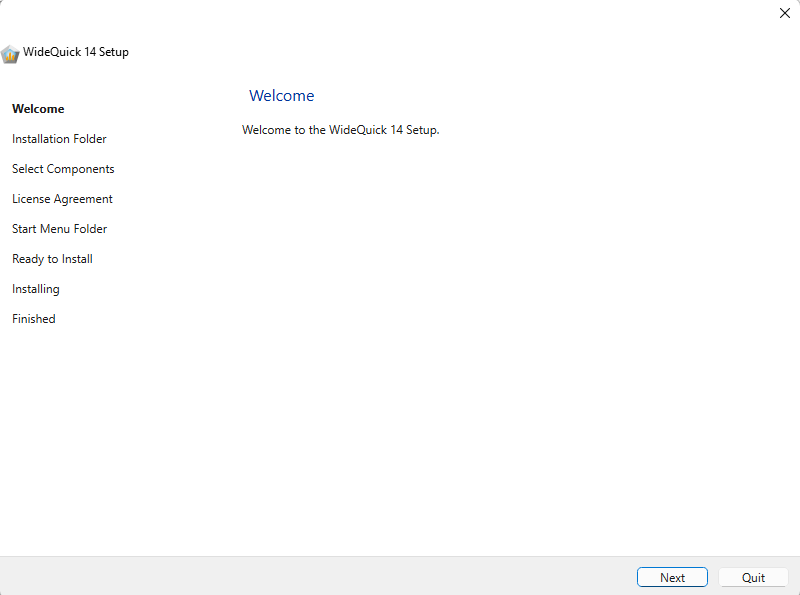
The installer opens with a welcome screen showing all the steps that will be completed during the installation. Click Next to begin.
Installation Directory
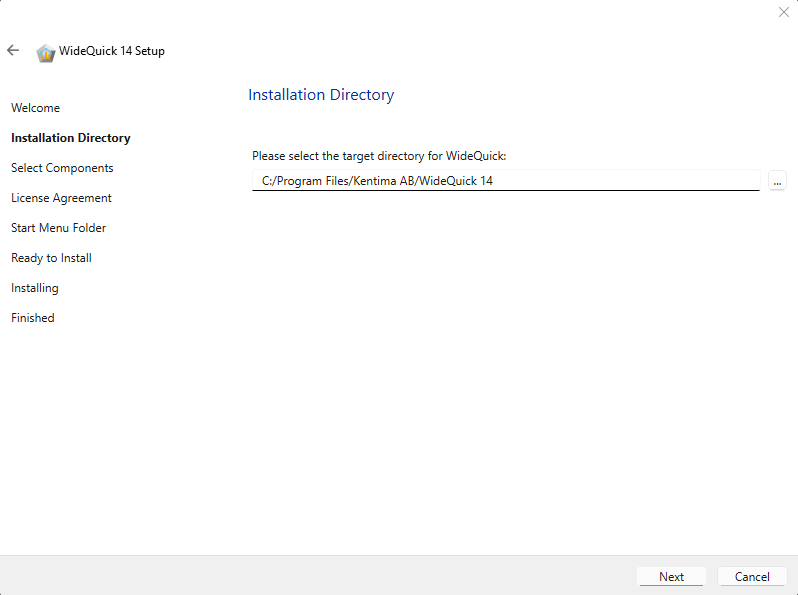
Select the folder where WideQuick® will be installed. The default location is
C:/Program Files/Kentima AB/WideQuick 14. Click ... to browse for a different
folder. Click Next to continue.
Tip
The default installation folder is recommended for most installations.
Select Components
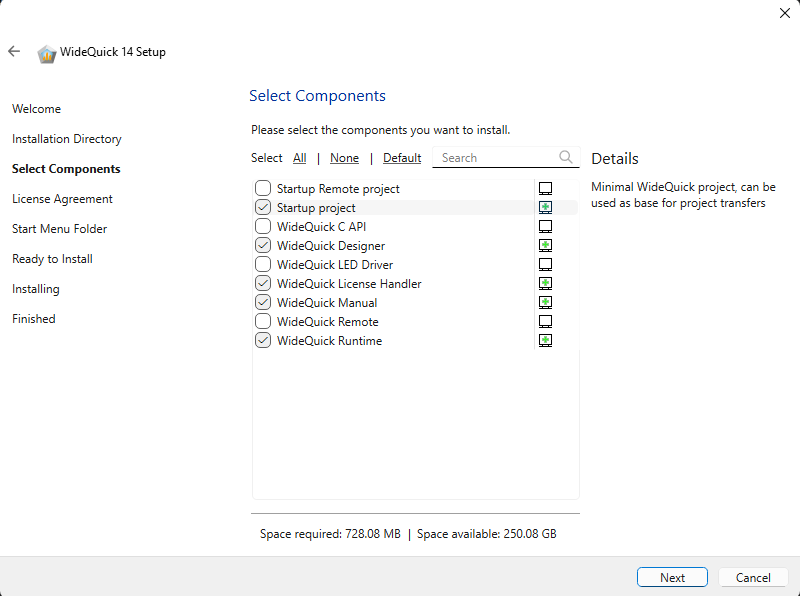
Select the components to install. The bottom of the dialog shows the disk space required for the selected components. Hovering over a component shows a description in the Details panel on the right.
The available components are:
| Component | Description |
|---|---|
| Startup Remote project | An executable that allows remote access to a Runtime instance. Requires WideQuick Remote to also be installed. |
| Startup project | A minimal WideQuick project placed in the installation folder. Used as a base when transferring projects to the target machine. |
| WideQuick C API | API for integrating WideQuick with C-based applications, enabling custom control and regulation logic alongside Runtime. |
| WideQuick Designer | The development environment for building and configuring WideQuick projects. Does not require a product code. |
| WideQuick LED Driver | Driver for LED hardware integration. |
| WideQuick License Handler | Tool for viewing license information and upgrading licenses. |
| WideQuick Manual | The built-in help manual, accessible in WideQuick Designer® by pressing F1. |
| WideQuick Remote | Connects to a running Runtime instance from another machine, enabling a client/server environment. |
| WideQuick Runtime | Runs a WideQuick project on the target machine. |
Recommended configurations
Development machine — for building and test running projects on the same machine:
- WideQuick Designer
- WideQuick Runtime
- WideQuick Manual
- WideQuick License Handler
Runtime machine — for running a project locally on the target machine:
- WideQuick Runtime
- WideQuick License Handler
- Startup project
Remotely accessible runtime machine — for running a project that can also be accessed remotely:
- WideQuick Runtime
- WideQuick Remote
- Startup project
- Startup Remote project
- WideQuick License Handler
License Agreement

Read the license agreement carefully. Check I accept the license to accept the terms and conditions. Click Next to continue.
Note
You must accept the license agreement to proceed with the installation.
Start Menu Folder
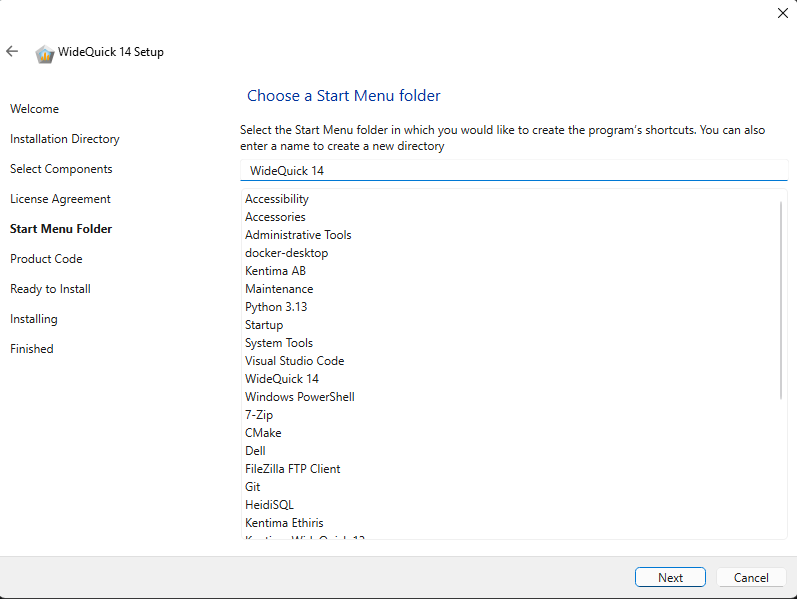
Select the Start Menu folder where WideQuick® shortcuts will be created. The default is WideQuick 14. An existing folder can be selected from the list, or a new name entered in the field at the top. Click Next to continue.
Tip
The default folder name is recommended for most installations.
Product Code
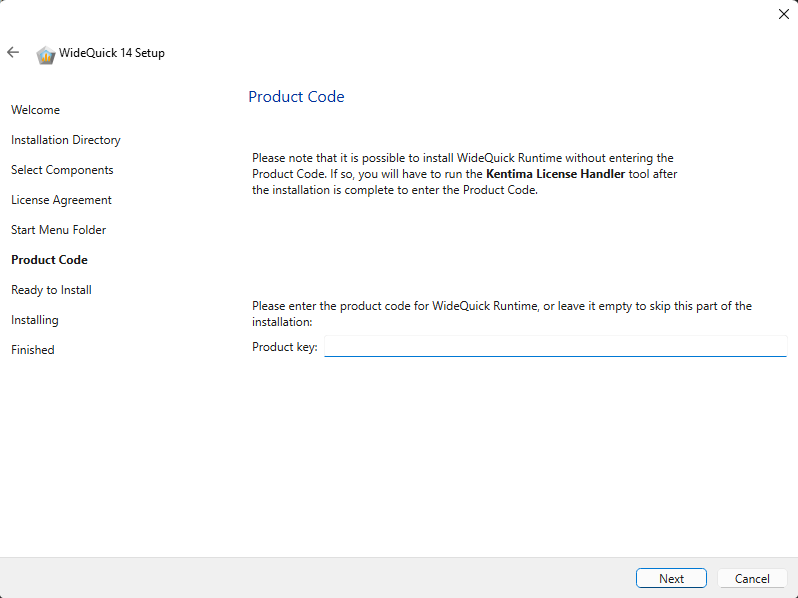
Enter the product key for WideQuick® Runtime. The product key can be found in the purchase confirmation received from Kentima.
The product key can be left empty and entered later using the WideQuick License Handler tool after installation is complete. Click Next to continue.
Note
A product key is only required for WideQuick® Runtime and WideQuick® Remote. WideQuick® Designer does not require a product key.
Ready to Install
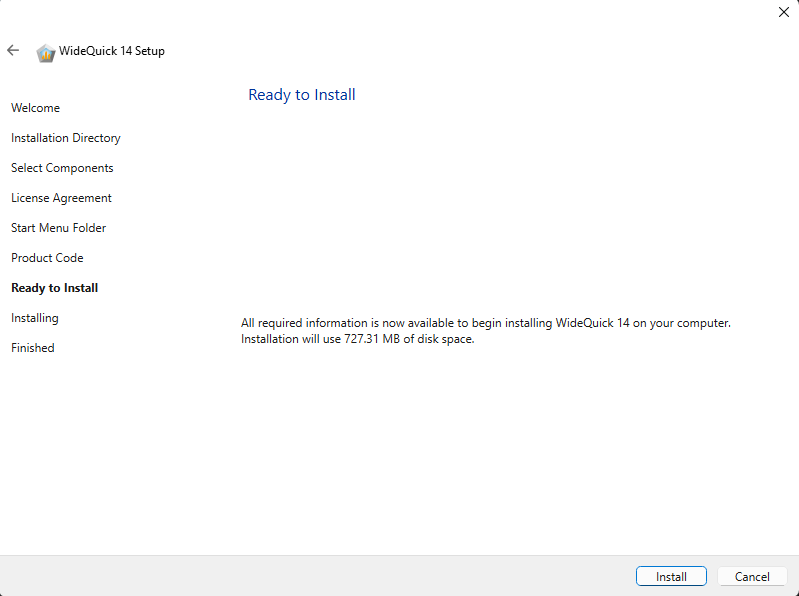
All required information has been collected. The dialog shows the total disk space that will be used by the installation. Click Install to begin the installation.
Installing
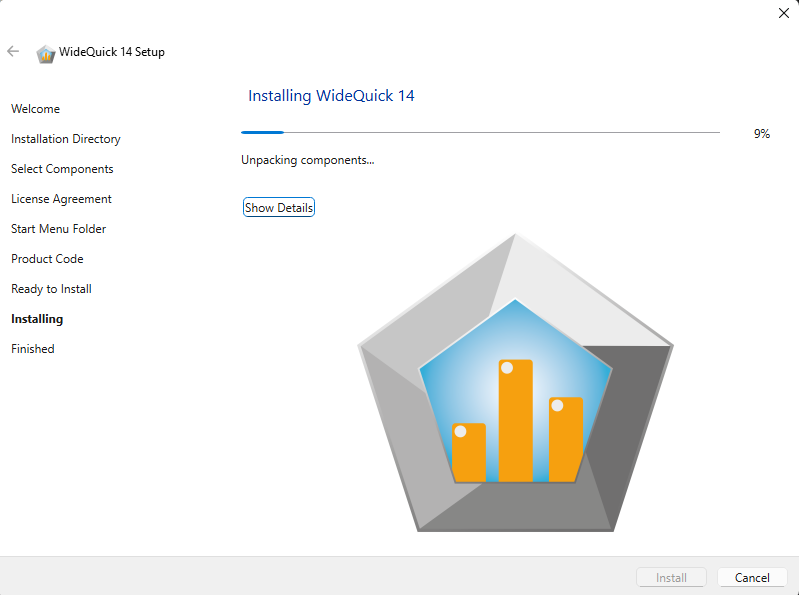
The installer will now copy and unpack all selected components. A progress bar shows the current status. Click Show Details to see a detailed log of the installation process.
Finished

WideQuick 14 has been successfully installed. The dialog confirms the installation location. Click Finish to close the installer.
WideQuick® Designer can now be launched from the Start Menu under WideQuick 14.
Tip
If you skipped entering the product key during installation, open the WideQuick License Handler from the Start Menu to enter it now.